Apple Pay integrates with iOS Swift is one of the best features which can be used by all the required apps. Many industries are leveraging this particular solution. Apple payment can be utilized with NFC or without NFC so that the Developer of iOS App Development Services provider needs to ensure and enable the capability in the apps as per requirement. It increases business and a lot of opportunities for consumers to use this particular feature using any app.
Nowadays, Apple Payment integration is very famous in the market. It is the most useful and safest way to do the payment because it will not store cache in the device. Apple Pay used unique code along with device ID so that the payment process done easily through apps.
Many other features can be integrated with payment like promotion, bonus, rewards point, and loyalty. All the other features can be leveraged by mobile apps but the developer needs to add the particular feature as per requirement. Apple payment can be used in store, bill, transferred money, parking, withdrawal money, and mobile payment.
A developer has to follow the below steps for the Apple Pay Integrates:
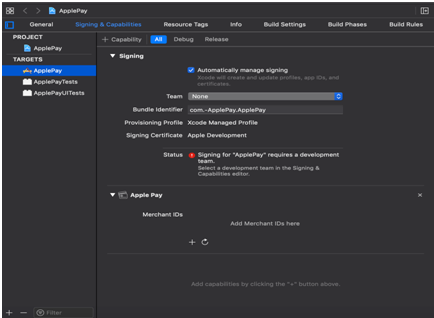
1) The developer needs to enable the apple to pay in the capability of XCode where the developer needs to add a merchant ID.
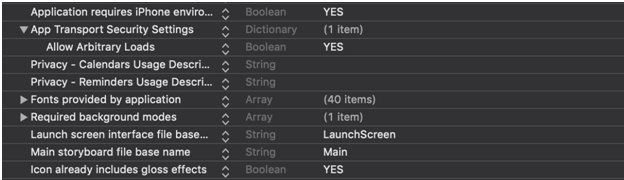
2) The Developer needs to add and enable:
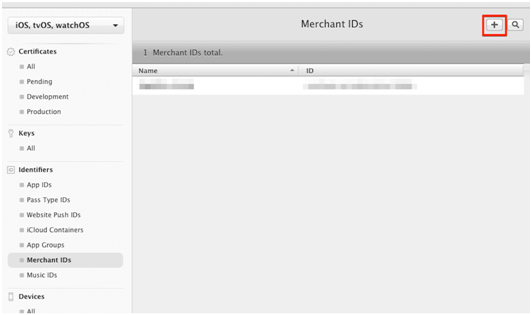
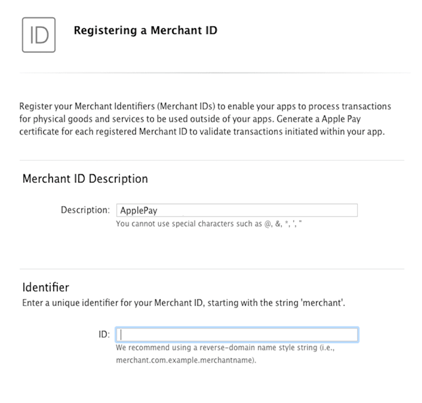
3) The Developer needs to add the merchant ID in the apple developer side. A Developer can enable apple pay by adding an identifier in the merchant ID. With the help of a merchant ID, only the payment can be enabled.
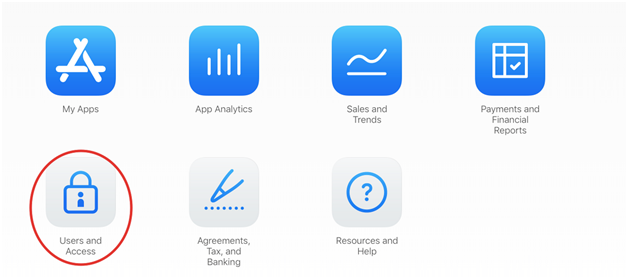
4) The Developer needs to click on users & access then create a test user for payments testing in the app store connect https://appstoreconnect.apple.com/. The Developer can add a dummy card also there for testing purposes.
5) The Developer needs to import the Pass Kit library from the apple library
Import PassKIT
6) The Developer needs to do coding for apple pay. Developer needs to create a button in the storyboard and linked that button for apply pay testing in sandboxing .
Private var applepayRequest: ApplePaymentRequest = {
let applerequest = ApplePaymentRequest()
applerequest.merchantIdentifier = “merchant.stfalcon.com.applepayexample”
applerequest.supportedNetworks = [.visa, .masterCard]
applerequest.supportedCountries = [“UA”]
applerequest.merchantCapabilities = .capability3DS
applerequest.countryCode = “US”
applerequest.currencyCode = “USA”
applerequest.paymentSummaryItems = [PKPaymentSummaryItem(label: “iPhone 7”, amount: 350000.00)]
return applerequest }()
Button action for apple payment where it will be tappable
@IBActionfuncapplePurchase(_ sender: Any?) {
if let controller = ApplePaymentRequestAuthorizationViewController(applepayRequest: applepayRequest) {
controller.delegate = self
present(controller, animated: true, completion: nil)
}
}
Extension created for Apple payment method
extension ViewController: ApplePaymentRequestAuthorizationViewControllerDelegate {
funcApplePaymentRequestAuthorizationViewController(_ controller:
ApplePaymentRequestAuthorizationViewController, didAuthorizePayment payment: PKPayment, handler completion: @escaping (ApplePaymentRequestAuthorizationResult) -> Void) {
completion(ApplePaymentRequestAuthorizationResult(status: .success, errors: nil))
}
funcApplePaymentRequestAuthorizationViewControllerDidFinish(_ controller: ApplePaymentRequestAuthorizationViewController) {
controller.dismiss(animated: true, completion: nil)
}}