Learn how to build shed slabs for durability and longevity with expert tips on preparation, reinforcement, and concrete curing.
Ever wondered why some sheds stand strong for decades while others start cracking and sinking within just a few years?
What separates a shed that becomes a reliable storage space from one that turns into a costly headache? The answer lies beneath your feet—in the shed slabs melbourne.
Building a shed might seem straightforward, but the foundation you choose makes all the difference. A poorly constructed slab can lead to structural issues, water damage, and frustrating repairs down the track.
On the other hand, a well-built concrete slab provides a stable, level surface that protects your investment for generations.
In this guide, you’ll discover everything you need to know about constructing shed slabs that stand the test of time.
We’ll explore different slab types, walk through the pouring process step by step, and share practical tips to avoid common mistakes.
Whether you’re planning a DIY project or hiring a professional concreter, this information will help you make smart decisions for your property.
What Is a Shed Slab and Why Do You Need One?
The Purpose of a Concrete Shed Slab
A concrete shed slab serves as the structural foundation for your entire building.
According to guidance from the Concrete Centre (UK) and the National House Building Council (NHBC), a well-prepared slab prevents ground movement, resists moisture, and protects against pest intrusion.
Think of it as the anchor that keeps everything stable and level. Without a proper base, your shed walls can shift, doors may stick, and the whole structure becomes vulnerable to movement.
Beyond stability, a concrete slab protects against moisture rising from the ground. This is particularly important in Australia, where varying soil conditions and weather patterns can wreak havoc on unprotected structures.
A quality slab also keeps pests like termites at bay, which is a genuine concern for timber-framed sheds.
Can You Build a Shed Without a Concrete Slab?
Technically, yes—you can use alternatives like gravel pads or timber bearers. However, these options come with compromises. Gravel can shift over time, while timber eventually rots.
For a shed that’s built to last, concrete remains the gold standard, especially for larger structures or those storing heavy equipment.
Planning Your Shed Slab: Getting the Foundations Right
How Thick Should a Concrete Slab Be for a Shed?
For most domestic sheds, a thickness of 100mm works well. However, if you’re parking vehicles or storing heavy machinery, consider going up to 150mm. The edges should be thickened to around 300mm to provide extra strength where the walls sit.
Choosing the Right Location on Your Property
Location matters more than many people realise. Look for a spot with good natural drainage—water pooling around your shed is a recipe for long-term problems.
Check that the ground is relatively level, as significant slopes mean more excavation and higher costs. Plus, consider access for concrete trucks if you’re ordering a ready-mix delivery.
Council Permits and Regulations in Australia
Before breaking ground, check with your local council about permits. In most Australian states, sheds over a certain size (typically 10-20 square metres) require development approval.
Setback requirements from boundaries also apply, so make sure your planned location complies with local regulations.
Types of Shed Slabs: Which One Suits Your Needs?
Standard Concrete Slabs
A standard slab is essentially a flat concrete pad of uniform thickness. It’s suitable for smaller sheds and light-duty applications. Installation is straightforward, making it popular for DIY projects.
Thickened Edge Slabs
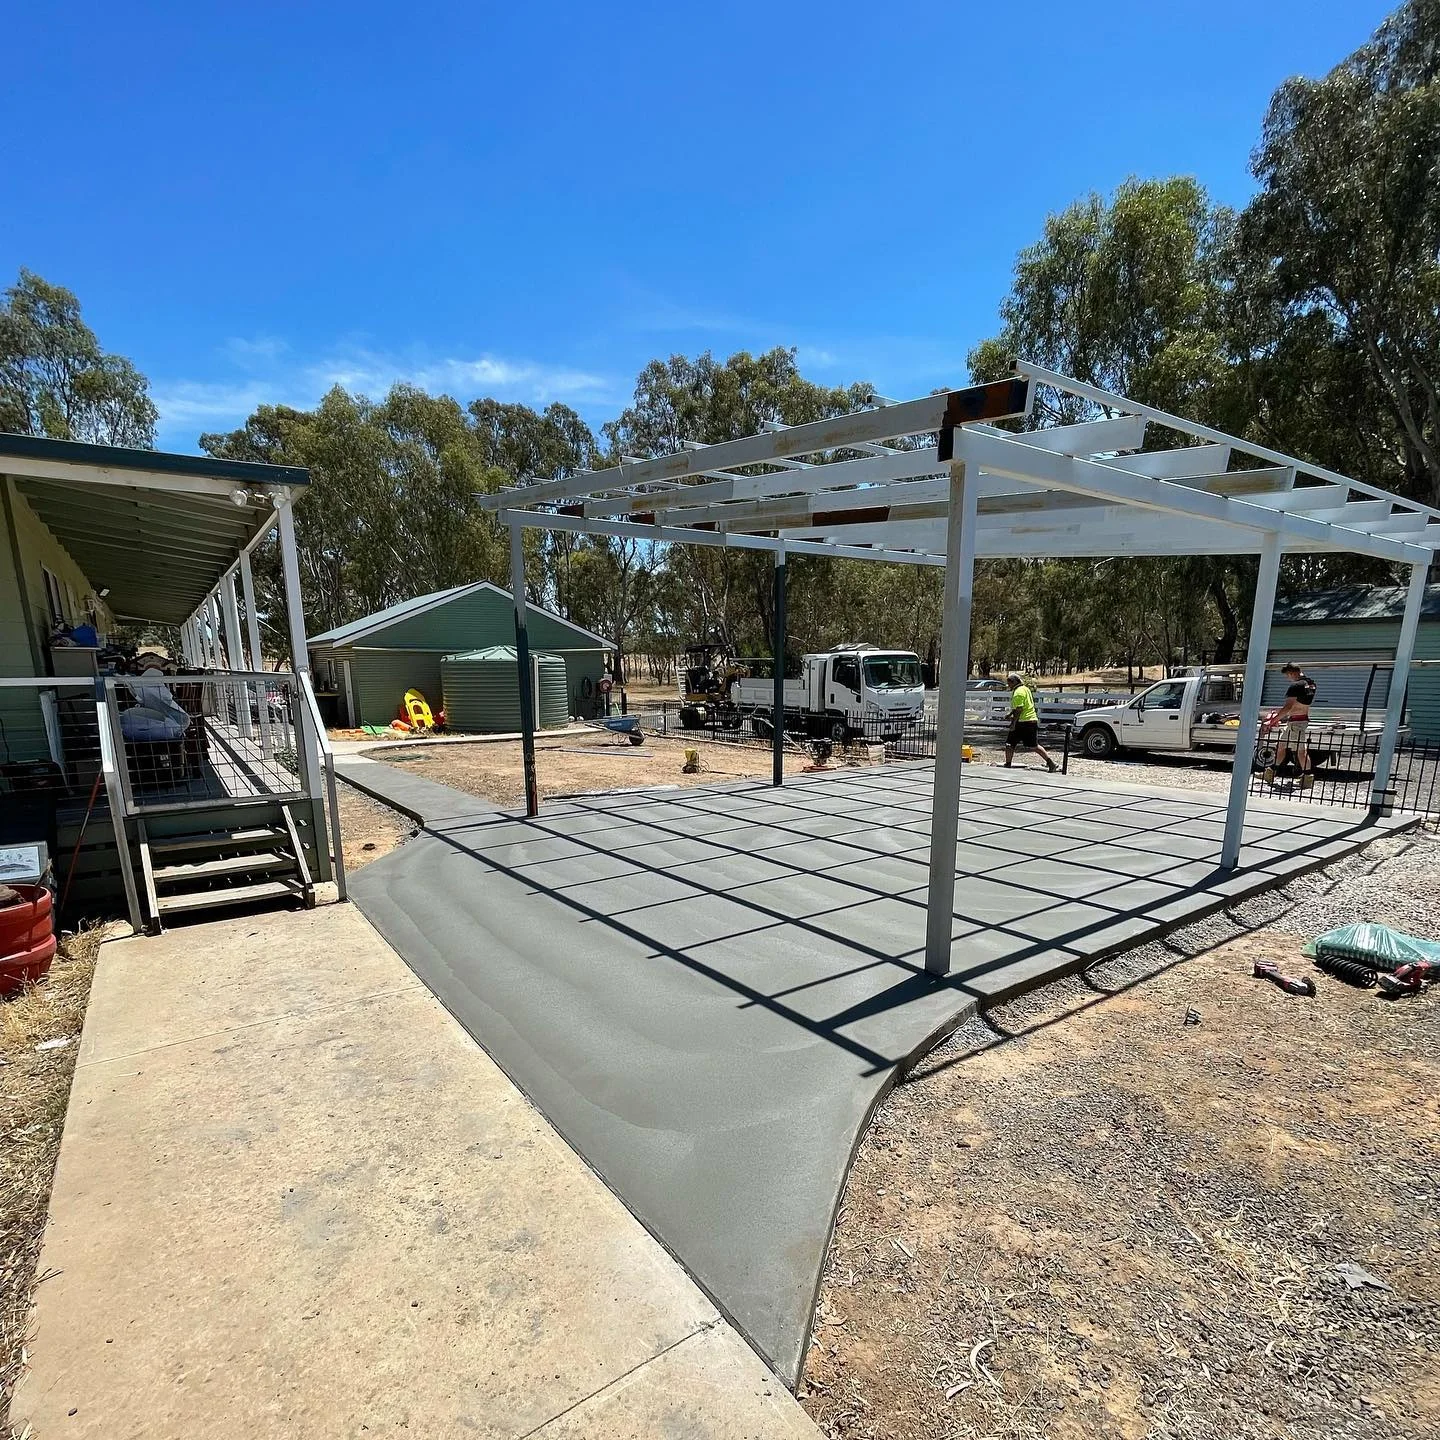
These slabs feature reinforced edges that extend deeper into the ground. The thickened perimeter provides additional support for walls and helps distribute loads evenly. This design is ideal for larger sheds or areas with less stable soil.
Floating Slabs vs. Monolithic Slabs
Floating slabs sit independently on the ground without deep footings, making them suitable for stable soil conditions.
Monolithic slabs, where the footing and floor are poured as one unit, offer superior strength and are better suited for challenging ground conditions or heavier structures.
What Is the Best Base for a Shed to Last?
Concrete vs. Gravel vs. Pavers
Concrete wins hands down for durability and longevity. Gravel is cheaper upfront but requires regular maintenance and can shift underfoot.
Pavers offer an aesthetic middle ground but may settle unevenly over time. For a shed you want to rely on for 30+ years, invest in concrete.
How Do You Prepare Ground for a Shed Base?
Proper ground preparation starts with clearing vegetation and topsoil. Excavate to the required depth—typically 200-300mm below the shed slabs melbourne.
Compact the subgrade thoroughly using a plate compactor. Add a layer of compacted road base or crushed rock (around 100mm), then lay a moisture barrier before pouring.

Step-by-Step Guide: How to Pour a Concrete Shed Slab
Excavation and Site Preparation
Mark out your slab dimensions using string lines and pegs. Excavate the area, removing all organic material. Compact the base in layers—this step is crucial and shouldn’t be rushed. Poor compaction leads to settling and cracking later.
Building the Formwork
Formwork creates the mould for your concrete. Use straight timber boards (typically 100x50mm) secured with sturdy stakes.
Check levels obsessively—a slight fall of 1-2% away from buildings helps with drainage. Make sure your formwork is strong enough to withstand the weight of wet concrete.
Laying Reinforcement Mesh
Steel reinforcing mesh (SL72 or SL82 for most shed slabs) prevents cracking and adds tensile strength. Position the mesh on bar chairs so it sits in the middle third of the slab thickness. Overlap sheets by at least one square and tie them together with wire.
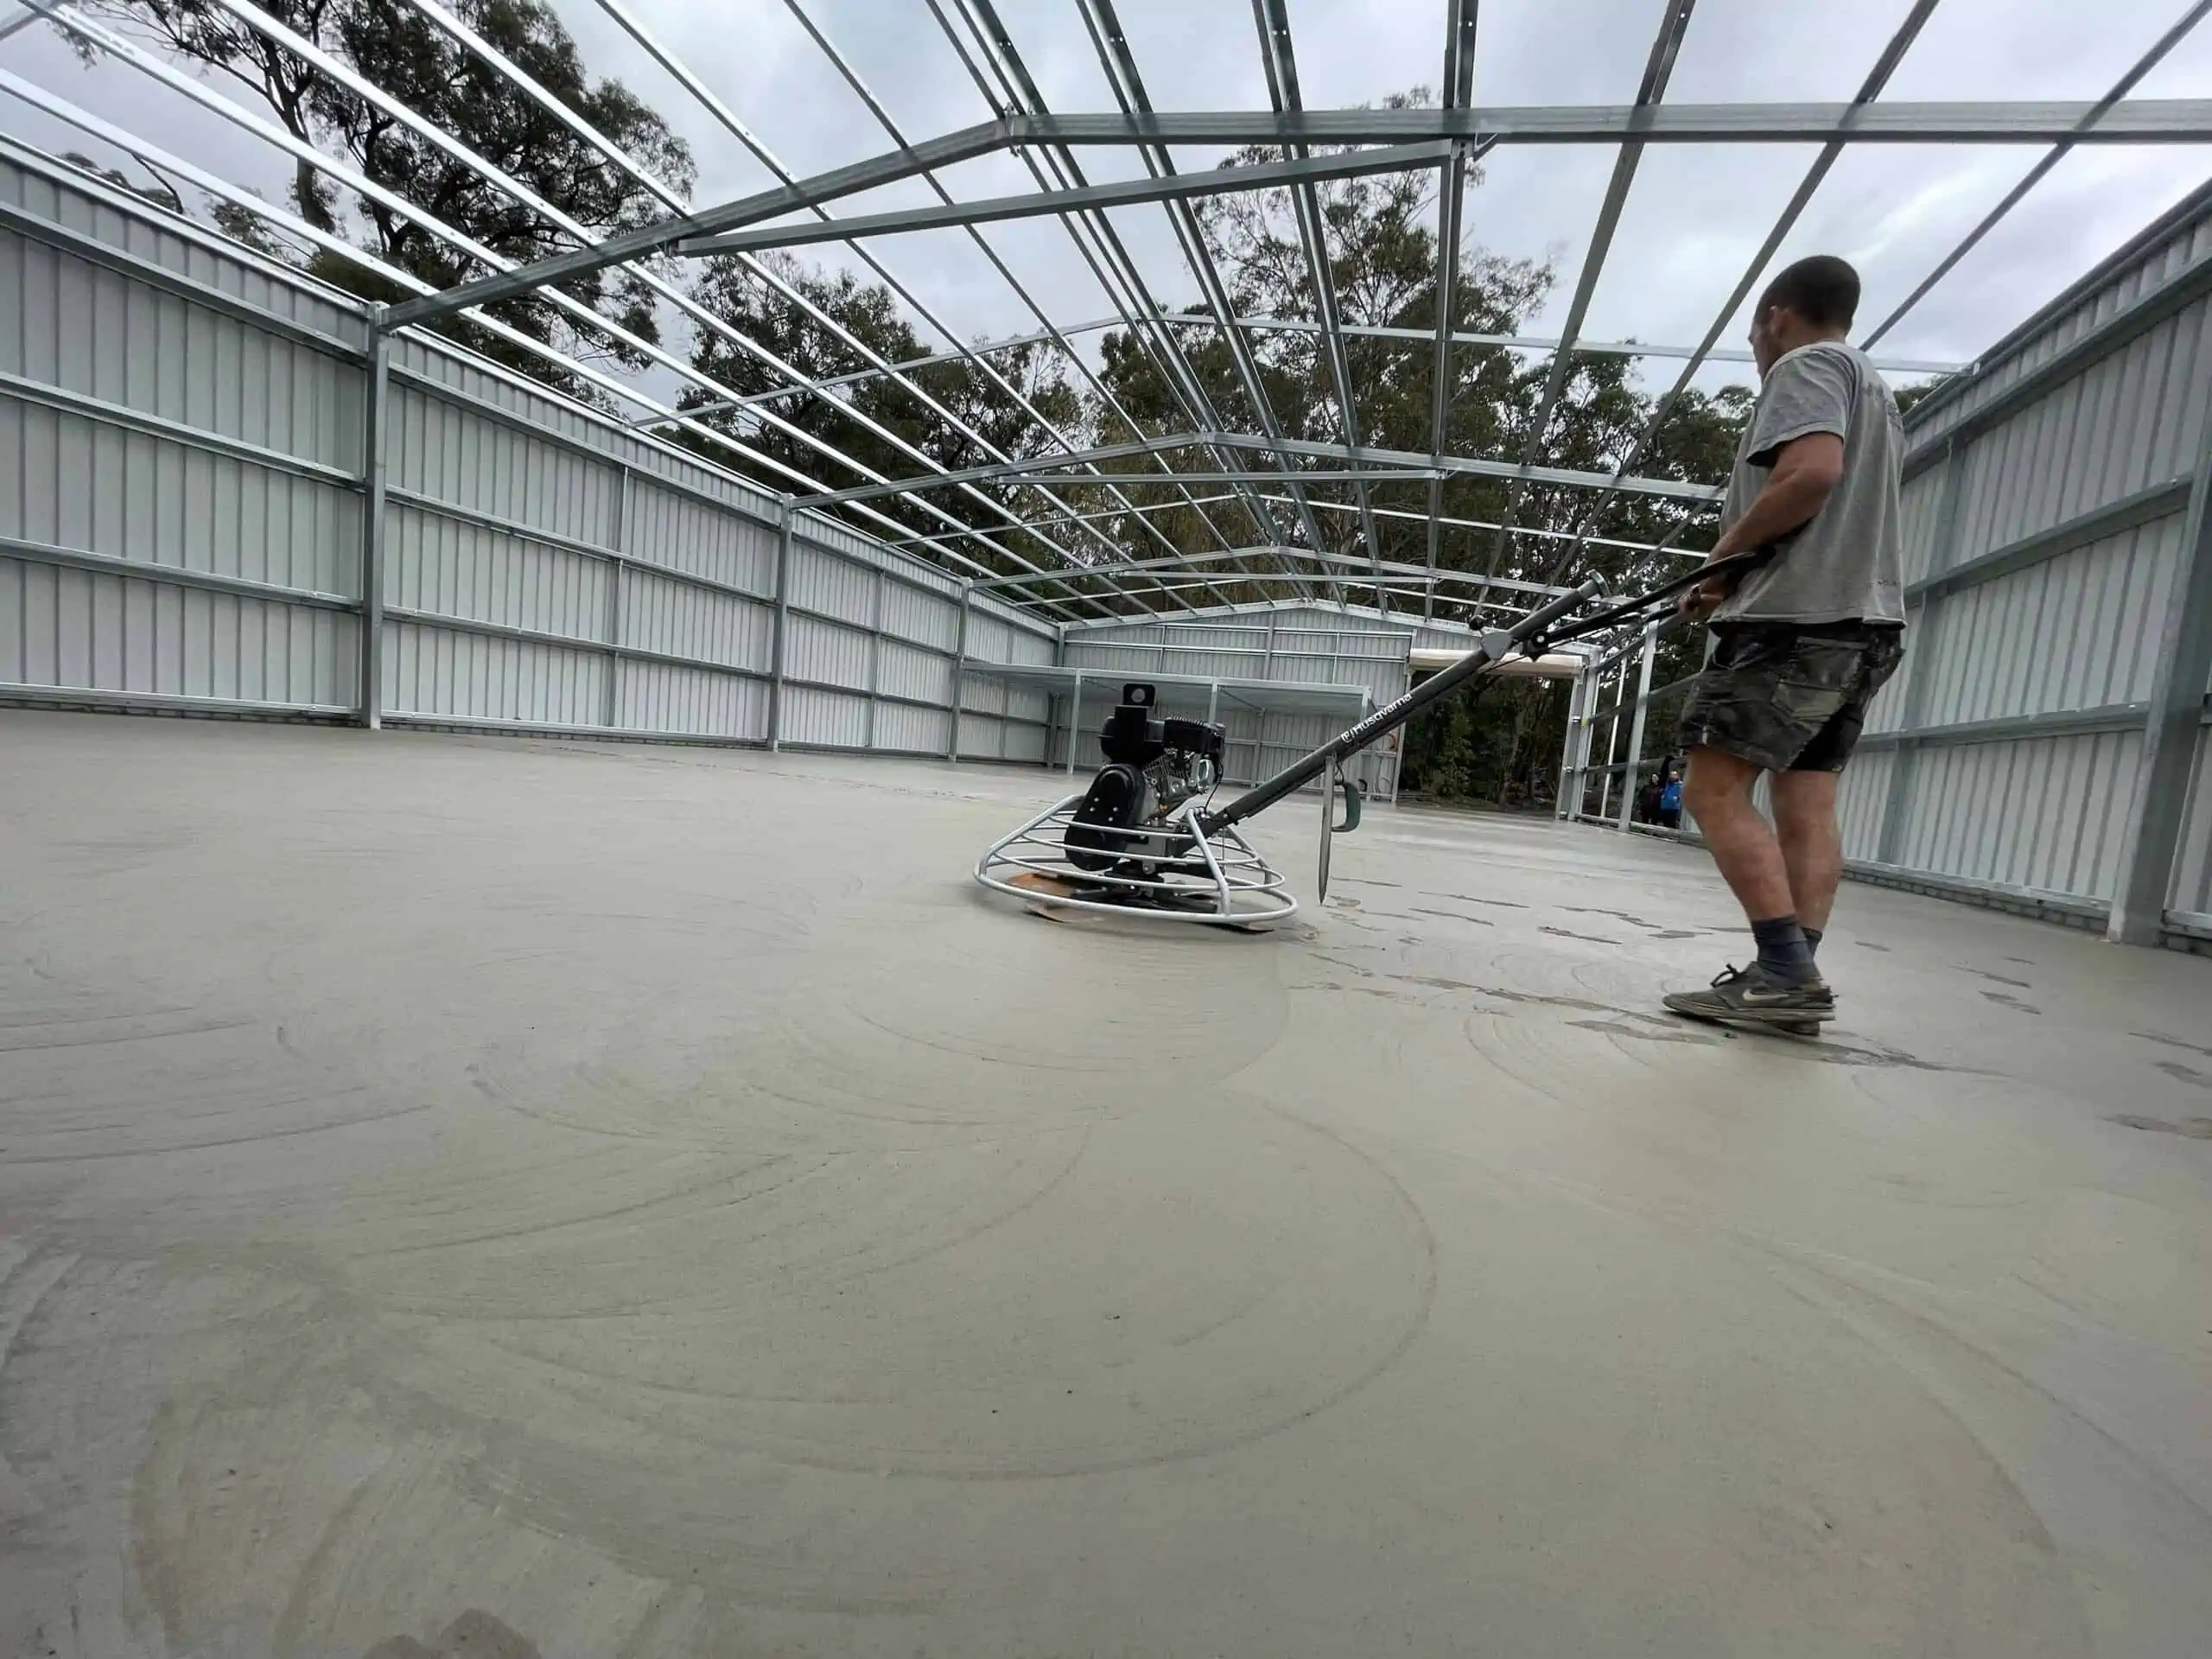
Pouring and Finishing the Concrete
Order concrete with a minimum strength of 25 MPa for shed slabs. Pour the concrete evenly, working it into corners and around reinforcement. Use a screed board to level the surface, then float it smooth. For a non-slip finish, drag a broom across the surface before it sets completely.
Curing Time: How Long Before You Can Build?
Patience pays off here. Concrete reaches about 70% of its strength after seven days, but waiting 28 days for full cure is ideal. Keep the surface moist during the first week by covering it with plastic sheeting or applying curing compound. Building too soon risks cracking and structural issues.
DIY vs. Hiring a Professional Concreter
Going the DIY route can save around 40-50% on labour costs. However, concrete work is physically demanding and unforgiving of mistakes.
If you’ve never worked with concrete before, hiring a professional concreter is often worth the investment. They’ll guarantee their work and handle any issues that arise.
Common Mistakes to Avoid When Building a Shed Slab
Poor Drainage and Water Damage
Failing to plan for water runoff is a classic blunder. Make sure your slab slopes slightly away from any buildings, and consider installing agricultural drainage around the perimeter if your site retains water.
Skipping Reinforcement
Some people try cutting costs by leaving out steel mesh. Don’t do it. Unreinforced slabs crack more easily and have a significantly shorter lifespan. The mesh costs relatively little compared to fixing cracks later.
Incorrect Concrete Mix
Using the wrong concrete mix or adding too much water weakens your slab. Stick with the specified mix design and resist the temptation to add water for easier workability—it compromises strength.
How Long Does a Concrete Shed Slab Last?
Factors Affecting Slab Longevity
A well-constructed concrete slab can last 50 years or more. Key factors include concrete quality, proper reinforcement, adequate curing, and appropriate thickness for the intended use. Environmental conditions like soil movement and exposure to chemicals also play a role.
Maintenance Tips for Long-Term Durability
Inspect your slab annually for cracks. Small cracks can be sealed before they expand. Keep the surface clean and avoid storing corrosive chemicals directly on the concrete. Address drainage issues promptly to prevent water damage.
Building a Shed Slab That Stands the Test of Time
Getting your shed slab right from the start saves countless headaches down the track. The key points to remember include proper ground preparation, adequate thickness and reinforcement, quality concrete, and sufficient curing time. Cutting corners on any of these elements compromises your entire structure.
My honest recommendation? Unless you have experience with concrete work, consider hiring a professional for this part of your project.
The slab is literally the foundation of everything else, and mistakes here are expensive to fix. A professional concreter brings the tools, knowledge, and efficiency that make a real difference.
Whether you tackle this yourself or bring in help, you now have the knowledge to make informed decisions about your shed slab.
Planning to build a shed that lasts decades? Follow this expert guide and ensure your shed slabs deliver strength, stability, and long-term value. Visit The World Beast for more professional construction insights.