
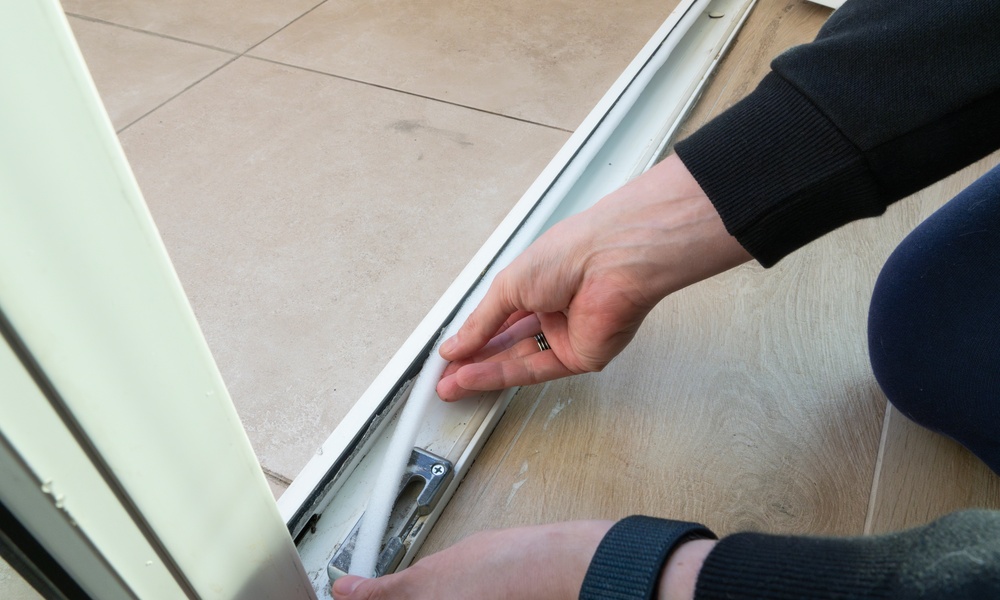
You finally fix that chilly breeze near the living room window. The room feels warmer, and the heater runs less often. You wonder why you waited so long. Sealing drafts can make a home noticeably more comfortable, especially when winter winds find every little gap.
Yet a quieter, cozier house raises an important question. Where does the indoor air go when fewer cracks allow it to escape? Draft sealing offers genuine benefits, but a healthy home needs more than a tight exterior. Understanding how air moves can help you enjoy the savings without overlooking what’s happening indoors. Keep reading to explore the hidden air quality cost of sealing drafts.
Where Fresh Air Comes From
Every home needs a way to exchange indoor air with outdoor air. In an older house, gaps around windows or attic openings may allow some of that exchange. Unfortunately, those leaks also waste energy and bring unwanted dust or moisture into the building.
When you seal those gaps, you gain more control over heat loss. However, the house may also receive less fresh air unless another system supplies it. The goal isn’t to keep drafty windows. It’s to replace unpredictable leaks with dependable ventilation that supports indoor comfort.
What Can Linger Indoors
Daily life introduces pollutants into the air. Cooking releases particles, while cleaning products can give off chemical vapors. New furnishings may contribute additional emissions. In a poorly ventilated room, those pollutants can linger longer than you’d like.
Think about what happens after a particularly smoky dinner. Without a range hood that vents outdoors, the smell may drift through the house. Sealing drafts doesn’t create the smoke, but reduced air exchange can make it harder for that smoke to clear. Good ventilation helps tackle the source rather than hiding the odor.
Radon Deserves Attention
Radon presents a different concern because you can’t see or smell it. This naturally occurring radioactive gas forms in the ground and can enter homes through foundation openings. Over time, exposure increases the risk of lung cancer.
Homeowners sometimes assume that improved insulation automatically blocks radon. Unfortunately, energy-efficient upgrades can impact radon levels by changing airflow and pressure inside a house. Some improvements may help reduce entry, while other changes can increase concentrations. Your home’s foundation and ventilation influence the outcome. Testing offers a more reliable answer than guessing based on how recently you renovated.
Test Before and After
If you’re planning a substantial air-sealing project, consider testing for radon beforehand. A baseline measurement helps you understand your starting point. Follow the test instructions carefully because placement and operating conditions affect results.
Test again after major upgrades once the home returns to normal use. The EPA recommends fixing homes with radon levels at or above 4 picocuries per liter and considering action between 2 and 4. A qualified radon professional can recommend the right mitigation approach. Don’t rely on an ordinary air purifier to solve a radon gas problem.
Give Air a Planned Route
A tighter home works best when ventilation handles the air exchange instead of relying on random cracks. Bathroom exhaust fans help remove damp air, and a properly vented kitchen range hood carries cooking pollutants outdoors.
For some houses, a whole-home ventilation system may offer more consistent airflow. Heat recovery or energy recovery ventilators can exchange air while limiting energy losses. Ask an experienced HVAC professional to assess your home’s needs before selecting equipment. The right setup depends on the building and the systems you already use, not simply the number of rooms.
Look for Moisture Clues
Your family adds moisture to indoor air through showers and cooking. Without adequate ventilation, humidity can climb and encourage mold growth. Condensation on windows or a persistent musty smell may signal a problem worth investigating.
Use a simple humidity meter to see how conditions change during the day. Many homes benefit from keeping indoor relative humidity around 30 to 50 percent, although climate and season influence what’s practical. Run bathroom exhaust fans during showers and address plumbing leaks promptly. Don’t cover up a damp patch with paint and hope it disappears.
Check Combustion Safety
Draft sealing can also change how air moves around fuel-burning appliances. Under certain conditions, an exhaust fan or dryer can pull air from a house strongly enough to interfere with a furnace or water heater’s venting. That situation may allow combustion gases to enter living spaces.
Before major weatherization work, ask a qualified contractor to evaluate combustion safety and ventilation. Keep carbon monoxide alarms in proper working order, but remember that alarms don’t replace safe equipment installation. Professional testing can identify risks that a homeowner wouldn’t notice during a quick visual inspection.
Choose Materials With Care
The products you use during renovations can affect indoor air, too. Some sealants and adhesives release chemical vapors while they cure. New flooring or cabinetry may add emissions after a project ends.
Choose low-emission products when possible, and follow the manufacturer’s instructions for application and ventilation. Never block an appliance vent or any other opening that serves a safety purpose. If your project involves older insulation or suspicious building materials, consult a qualified professional before disturbing them. Responsible preparation protects more than your heating budget.
Don’t Rely on Filters Alone
Air cleaners can help reduce some airborne particles, but they don’t replace ventilation or source control. A filter that captures dust won’t necessarily remove gases from cleaning supplies, and standard portable air purifiers don’t solve elevated radon.
Start with the problem you want to address. Use a kitchen exhaust fan for cooking emissions and correct moisture at its source. If radon testing reveals elevated levels, pursue appropriate mitigation rather than buying a stronger filter. Matching the solution to the pollutant saves money and avoids a false sense of security.
Plan a More Complete Upgrade
Before sealing every visible crack, consider a home energy assessment that includes indoor air quality. Ask the contractor how planned changes may affect ventilation and whether your fuel-burning equipment needs additional testing.
Make the work a coordinated project rather than a collection of quick fixes. Discuss radon testing and any existing moisture concerns before installation begins. Afterward, check that exhaust fans operate as intended and that the contractor addresses any safety findings. A thoughtful plan lets energy improvements and healthier indoor air support each other.
Enjoy Comfort With Confidence
The hidden air quality cost of sealing drafts isn’t a reason to live with cold rooms and wasted energy. It’s a reminder that your home works as one connected system. When you change how air escapes, you should also consider how fresh air enters.
Start with a radon test and a conversation about ventilation before your next major upgrade. That extra attention can help you create a warmer home without neglecting the air your family breathes every day.
