
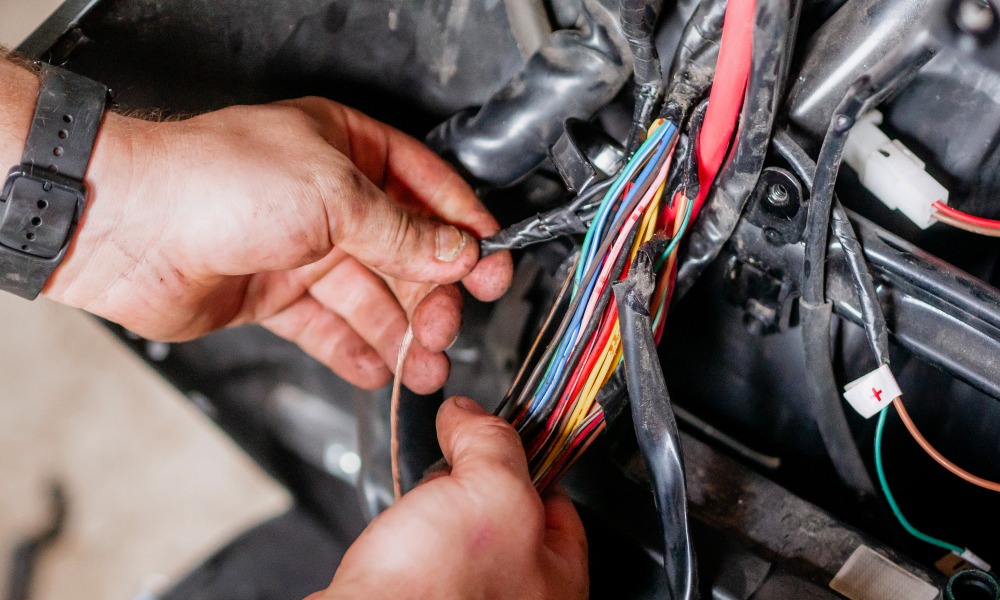
A car’s electrical system depends on more than good wires and solid connectors. The path each wire takes can affect how well the system holds up against heat, vibration, moisture, and daily road use. Tips for routing your car’s wiring harness can help you create a cleaner setup and reduce the chance of electrical trouble later. Discover some helpful techniques to use in our expansive guide below.
Start With a Clear Route
Before the harness goes into place, study the area from one end of the circuit to the other. Look for factory paths, mounting points, brackets, and open areas that can keep the wires away from trouble. A few minutes of careful inspection can save a lot of frustration after other parts go back onto the vehicle.
Factory harness paths can provide a useful reference because vehicle designers account for nearby components and available space. A custom electrical repair may not follow the original path exactly, but the factory layout can still offer helpful clues. Keep the route direct without forcing wires across areas that expose them to unnecessary stress.
Stay Away From Heat Sources
Heat can be rough on wire insulation, connector housings, seals, and other electrical parts. Exhaust manifolds, turbo components, radiators, and other hot areas deserve extra clearance. A harness placed too close to these parts may become brittle or damaged after repeated exposure.
Use factory shields and barriers where they remain available. Heat-resistant loom or sleeves may also add protection in areas where extra distance isn’t practical. Even with protective material, give the harness as much space from high-temperature components as the vehicle layout allows.
Underhood repairs deserve extra attention here. A wire may look perfectly safe when the engine is cold, but temperatures can rise fast after a long drive. Route with those harsher conditions in mind rather than judge the area only from a parked vehicle.
Protect Wires From Sharp Edges
Sheet metal, brackets, bolt heads, and unfinished openings can damage wire insulation through repeated contact. Vehicle vibration can turn a harmless-looking edge into an abrasive surface over time. Once insulation wears through, the exposed conductor may short against metal and create an intermittent electrical fault.
Use grommets where a harness passes through sheet metal or another rigid opening. Loom can add another layer of defense along areas where contact is possible. Clips and retainers also help hold the harness away from edges instead of allowing it to rub against nearby parts.
Pay close attention after body repairs or aftermarket modifications. A replacement panel, accessory bracket, or altered mount may create a new contact point that wasn’t part of the original vehicle layout. Check the entire route again after those parts are installed. If damage occurs, reflect on the reasons that repairing wiring beats full harness replacement to plan your next steps accordingly.
Leave Room for Vehicle Movement
Cars flex, vibrate, and shift as they travel. Engines also move slightly on their mounts, so a harness stretched tight between the engine and body can face extra strain. Leave enough slack for normal movement without creating large loops that can snag other components.
The same principle applies near doors, hoods, trunks, suspension parts, and other areas with regular motion. Wires need enough freedom to accommodate that travel. Too much tension can pull at terminals or connector locks, and excess slack can place the harness near hazards.
A small service loop can also help near certain connectors. This extra wire gives a technician room to disconnect or inspect a component without putting force on the terminal. Keep that loop controlled and secure rather than loose inside the engine bay.
Use Clips and Supports at Practical Intervals
A harness shouldn’t depend on its connectors to hold its weight. Proper clips, clamps, and retainers support the wire bundle and help preserve the intended route. They also reduce movement from road vibration.
Whenever possible, reuse factory attachment points. These locations usually keep the harness close to its intended path without the need for extra holes or improvised mounts. If an original clip has cracked or disappeared, replace it with a suitable automotive retainer.
Avoid pulling cable ties so tight that they crush the loom or press into wire insulation. The goal is firm support, not extreme pressure. A secure harness should stay in place without looking pinched or distorted.
Keep Clear of Moving Parts
Fans, belts, pulleys, steering shafts, and suspension components can destroy a wire harness fast if contact occurs. Even a small amount of loose wire can become a problem if vibration allows it to drift toward a rotating part. Check clearance throughout the full area rather than at one visible point.
Steering and suspension areas deserve extra care because component positions change as the vehicle moves. Turn the steering wheel through its full travel when appropriate and inspect the available clearance. For suspension-related routes, consider how the space changes as the suspension moves through its normal range.
Don’t rely on appearance alone. Gently move the harness by hand after it’s secured and check how far it can travel. If it can reach a belt, fan, shaft, or other hazard, revise the route or add another support point.
Keep Connectors Accessible
A tidy harness route shouldn’t bury connectors behind parts that make future service unnecessarily difficult. Sensors, lights, pumps, and other electrical components may need inspection or replacement later. Reasonable access can save time during future diagnostic work.
Avoid placing unnecessary tension directly behind a connector. The wires should approach the housing in a natural path rather than enter at a severe angle. This reduces stress at the terminal area and helps the connector stay seated.
Connector position also matters in areas exposed to water and road debris. Use the original connector seals and protective features where applicable. A clean route can help keep the connector away from direct spray and places where dirt tends to collect.
Inspect the Route Before Reassembly
Once the harness sits in place, inspect it before covers, panels, seats, trim, or underhood parts block your view. Confirm that connectors are fully seated, clips are secure, grommets sit correctly, and no wire rests against a sharp or hot surface. This final inspection is easier now than after the vehicle has been put back together.
Give special attention to areas where the harness passes behind brackets or through tight spaces. Verify that bolts and panels won’t pinch the wires during reassembly. A harness can have an excellent route and still suffer damage if another component traps it afterward.
Put These Wiring Harness Tips Into Practice
Good wire placement supports a clean repair and helps protect electrical components from the harsh environment found throughout a vehicle. The best tips for routing your car’s wiring harness come down to thoughtful placement, adequate support, sensible clearance, and attention to future service needs. Treat the harness as part of the repair rather than an afterthought, and the finished electrical work will be easier to inspect and maintain.
