
Keeping a vehicle clean at home is satisfying and cost-effective. Basic washing, vacuuming, and interior cleaning are relatively approachable, but detailing becomes more complicated when the work involves polishing paint, removing defects, applying protective products, or using specialized equipment.
Understanding what to know before attempting DIY auto detailing can make the difference between improving a vehicle’s appearance and accidentally creating damage that is difficult or expensive to reverse. Preparation matters because automotive surfaces are not equally durable, and a technique that works well in one area can cause problems in another.
Detailing Goes Beyond a Thorough Car Wash
A conventional car wash primarily removes loose dirt and surface contamination. Detailing takes the process further by addressing embedded contaminants, paint imperfections, interior materials, trim, wheels, glass, and protective coatings.
That distinction matters when choosing techniques. Washing typically involves relatively low-risk procedures when performed correctly. Paint correction, on the other hand, can involve abrasive compounds and machine polishers that remove a microscopic amount of the vehicle’s clear coat.
Removing too little material may leave scratches behind, while removing too much can permanently compromise the finish. Anyone considering correction work should understand common paint correction mistakes before using abrasive products or polishing equipment. Problems such as applying excessive pressure or working a surface incorrectly can turn a cosmetic improvement into an additional repair.
Start With an Honest Assessment of the Vehicle
Not every vehicle requires the same detailing process. Before buying products or reaching for a polisher, inspect the exterior carefully in good lighting.
Look for swirl marks, scratches, oxidation, water spots, stains, chips, and areas where the clear coat may already be failing. Some imperfections are surface-level and can be improved through decontamination or polishing. Others extend too deeply into the paint to be safely removed through ordinary detailing.
The age and history of a vehicle also matter. Older cars may have thin or previously corrected paint, while repainted panels react differently from factory finishes. A conservative approach is generally safer when the condition or history of the paint is uncertain.
Use Products for Their Intended Surfaces
One of the easiest detailing mistakes to make is assuming that a strong cleaner will simply produce a stronger result. Automotive interiors and exteriors contain numerous materials, including clear-coated paint, plastic, rubber, leather, synthetic upholstery, glass, metal, and sensitive electronic surfaces.
A chemical that is safe for one material may stain, discolor, dry out, or otherwise damage another. Product labels should be checked for surface compatibility, dilution requirements, application instructions, and recommended contact times. Testing an unfamiliar cleaner on a small, inconspicuous area is also sensible, particularly on interior fabrics, leather, trim, and older materials.
Follow Proper Washing Technique
Paint damage can occur before polishing ever begins. Dirt and grit dragged across the surface during washing can create fine scratches and swirl marks.
Loose contamination should be removed before physically contacting the paint. Clean wash media, appropriate automotive shampoo, and separate tools for especially dirty areas such as wheels can help reduce the chance of transferring abrasive particles to painted surfaces.
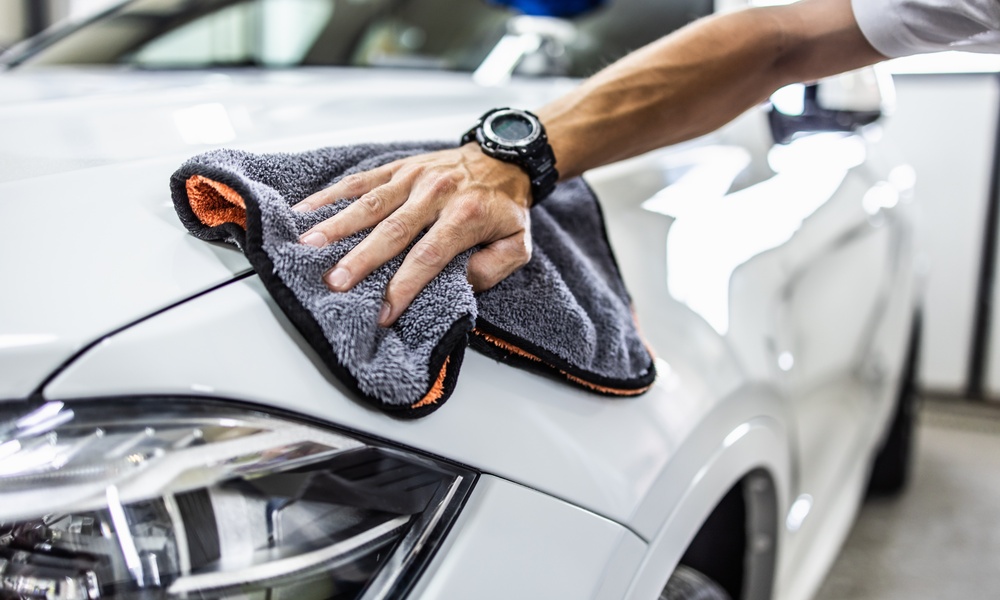
Drying technique deserves similar attention. Aggressively rubbing the paint with a dirty or unsuitable towel can undo the care taken during washing. Clean, soft microfiber towels are generally preferable, and they should be washed and stored in a way that keeps them free from debris.
Remember That Machine Polishing Has a Learning Curve
Machine polishers produce excellent results, but they should not be treated like ordinary cleaning tools. Pad type, abrasive strength, machine speed, pressure, working time, paint condition, and technique all influence the outcome.
More aggressive polishing is not automatically better. The goal should generally be to use the least aggressive combination capable of achieving an acceptable improvement.
Beginners can benefit from practicing on a less conspicuous area and starting conservatively. Frequently checking the surface is important because polishing generates friction and removes material. Edges, body lines, and areas with uncertain paint thickness deserve particular caution.
Work in the Right Environment
Environmental conditions affect both safety and results. Direct sunlight can cause body panels to become hot, making water and chemicals dry too quickly. This may contribute to spotting, streaking, or uneven product performance.
Whenever possible, detailing should be performed on a cool vehicle in a shaded, clean, well-ventilated area. Adequate lighting is especially important for evaluating paint because swirl marks and other defects can be difficult to see under poor or harsh illumination.
Wind also presents challenges. Dust or debris settling on freshly cleaned paint can become abrasive when wiping or polishing resumes.
Avoid Mixing Chemicals Without Clear Instructions
Automotive detailing products are formulated for particular purposes, and combining them casually can create unnecessary risks. Different cleaners should not be mixed unless the manufacturer specifically indicates that doing so is safe.
Ventilation and personal protection are also worth considering. Gloves and eye protection are appropriate when handling concentrated cleaners, wheel chemicals, solvents, or other products that can irritate skin and eyes. Products should also be kept in clearly labeled containers and stored away from children and pets.
Know When a Job Exceeds DIY Limits
The most important thing to know before attempting DIY auto detailing is recognizing when not to proceed. Routine cleaning and maintenance are realistic projects for many vehicle owners, but severe paint defects, deep scratches, failing clear coat, extensive oxidation, and unfamiliar specialty finishes require professional evaluation.
Trying to completely eliminate every visible defect can sometimes cause more harm than leaving a minor imperfection in place. This is particularly true when correction requires substantial removal of clear coat.
Expectations should therefore be based on preservation as well as appearance. A vehicle finish that is noticeably improved while retaining healthy clear coat can be a better outcome than pursuing cosmetic perfection at the expense of long-term paint protection.
Preparation Is the Best Starting Point
Successful auto detailing depends less on having a large collection of products than on understanding the vehicle, materials, and procedures involved. Read product directions, inspect surfaces carefully, keep equipment clean, and begin with conservative techniques.
For straightforward cleaning, a patient home detail can make a meaningful difference. For paint correction and other advanced procedures, learning the limitations of the process is just as important as learning the technique. Taking time to assess the risks before beginning can help preserve the vehicle’s finish rather than creating another problem to correct.
