
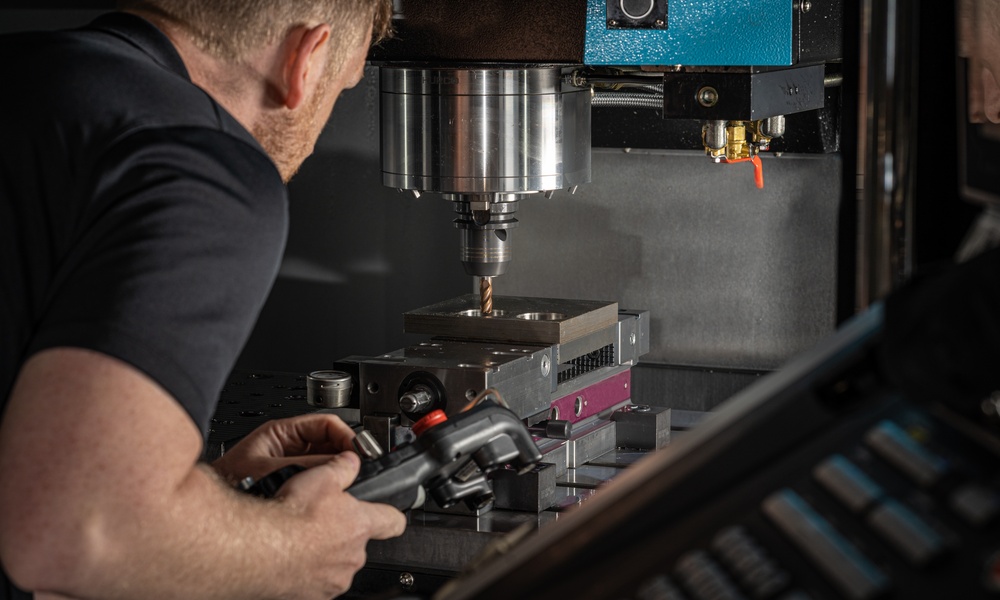
You can dial in a machining process and still watch a difficult metal punish the cutting edge. Tool life drops, heat builds near the cut, and the finish may deteriorate long before you expect trouble. When this keeps happening, changing the tool alone may not solve the underlying problem. Understanding why some metals resist machining can help you make smarter, behavior-based adjustments.
Machinability Changes the Cutting Experience
When you compare metals at the machine, hardness doesn’t tell the entire story. Machinability describes the broader relationship between a workpiece and the cutting process, including the effort required to remove material while maintaining acceptable tool life and part quality. Two metals that appear similar on a specification sheet can therefore require noticeably different machining strategies.
You need to consider what happens at the cutting edge rather than assuming one setup will transfer neatly between alloys. Some materials create high cutting forces, while others concentrate damaging heat near the tool. Once you understand that behavior, you can adjust the process around the material instead of repeatedly correcting symptoms.
Heat Can Punish Cutting Tools
You generate heat whenever the cutting edge shears material away from a workpiece. With a material that conducts heat poorly, more of that thermal load can remain concentrated around the cutting zone instead of moving efficiently into the workpiece or chips. Your cutting tool then faces temperatures that can accelerate wear and threaten edge integrity.
This issue is particularly important when machining heat-resistant alloys. Manufacturers often choose these metals precisely because they retain useful strength at elevated temperatures, but that advantage can become a machining challenge. You may need to manage cutting data carefully so the same properties that benefit the finished component don’t work against your tooling.
Cooling Needs Consistent Attention
If excessive heat creates trouble, coolant strategy deserves more attention than a last-minute adjustment. You can use properly applied coolant to control cutting-zone temperature while helping move chips away from the tool. Effective chip evacuation also reduces the chance that the cutting edge will encounter material it has already removed.
Consistency matters here; an unstable process can make it harder to control temperature from one cut to the next. When you evaluate cooling as part of the complete machining setup, you give the cutting edge a better chance of performing predictably.
Work Hardening Raises the Stakes
Some metals become harder at the surface as you machine them. If your tool rubs instead of cutting effectively, the next pass may encounter a tougher surface than the one you started with. That progression can contribute to notch wear and make an already demanding job increasingly difficult.
You can reduce this risk by maintaining a controlled cut rather than allowing the tool to dwell against the workpiece. A stable setup also matters because unwanted movement can encourage rubbing instead of clean material removal. When dealing with work hardening, small procedural issues can compound quickly.
Chips Reveal What’s Going Wrong
Pay attention to the material leaving the cut. Chip formation gives you useful evidence about whether the cutting action matches the workpiece. Poor chip control can interfere with evacuation and increase the likelihood that the removed material returns to the cutting zone.
Free-machining alloys show why material composition can change that behavior. For example, 430F stainless steel contains sulfur additions that promote chip breaking and can reduce cutting resistance compared with many standard stainless grades. When you understand that connection between composition and chip formation, you can make more informed decisions about tooling and cutting conditions.
Read Trouble at the Tool
You don’t have to wait for a finished part inspection to recognize that the process needs attention. Tool condition and cutting behavior can provide earlier warnings.
When a metal begins pushing the process outside a stable range, watch for signs such as:
- Rapid or uneven cutting-edge wear
- Persistent difficulty controlling chips
- Chatter that interferes with the cut
- Declining surface quality
- Trouble holding the required dimensions
These symptoms shouldn’t automatically send you toward a single correction. Instead, use them to investigate what the workpiece demands from the tool.
Tooling Must Match the Material
If you treat tooling as interchangeable across different metals, you may end up spending more time troubleshooting than machining. It’s essential that the cutting-tool material and geometry match the specific characteristics you anticipate at the cutting edge. A tool that works reliably with one alloy might not perform as well with another, especially if the new workpiece generates more heat or cutting forces.
You also need to consider whether the cutting edge can remain stable under the required load. Heat-resistant alloys can place significant thermal and mechanical stress on the tool, while abrasive material behavior may accelerate edge wear during cutting. Choosing tooling with suitable toughness and wear resistance helps maintain a more stable cut and gives you a stronger foundation for refining the rest of the machining process.
Stability Protects the Cut
Sometimes the metal exposes weaknesses elsewhere in the setup. If the workpiece or tool lacks sufficient support, vibration can interfere with surface quality and shorten tool life. You may notice chatter on a demanding material that seemed insignificant during an easier job.
Check the setup when machining performance becomes inconsistent. Tool overhang, clamping, and machine condition can influence stability, so you need to separate a material-driven challenge from a setup problem.
Adjust the Process With Purpose
Once you identify the source of the resistance, avoid changing several variables at once. A deliberate adjustment gives you clearer evidence about what improves the cut. You can then build a repeatable process rather than relying on trial and error every time the job returns.
This approach matters because metals that fight back during machining don’t all resist the tool for the same reason. One alloy may place greater thermal stress on the edge, while another may work-harden readily. If you diagnose the dominant problem first, your adjustments can address what’s happening at the machine.
Turn Resistance Into Useful Information
A difficult cut tells you something valuable about the relationship between the material and your process. Instead of treating premature wear or poor finishes as isolated failures, use those signals to reconsider whether the cutting conditions suit the metal in front of you. That shift can turn repeated troubleshooting into informed process control.
The next time a proven setup suddenly stops producing proven results, look closely at the workpiece as well as the machine. Ask what changed at the cutting edge and whether the material requires a different approach. Once you understand why the metal resists the cut, you’ll have a much clearer path toward machining it successfully.
